
Nordic Vs Alpine Touring Ski set ups
You’re ready to grab the kids, snag the skis, and get away from the resorts. We hear you! We also know it can feel DAUNTING if you’re just getting started, and understanding all the fancy lingo is tougher than wrestling your kid into a snowsuit. Choosing the gear, selecting a location, learning a new skill, AND bringing a little one along – it’s a lot! Since we at WildKind reference Nordic/cross-country skiing and Alpine Touring a lot, we wanted to break it down for you so you can find the best starting point for your family. Here we go!
Stoked to get outside this winter but not sure how to dress your children? Grab our free winter checklist download, packed with our favorite budget-friendly and splurge-worthy items of gear. We’re a picky crew of moms, and these items hit the mark for all of us!

First, the terms:
Fun fact: did you know that Nordic skiing is always capitalized? Nordic skiing is technically a method of skiing in which the toe of your boot is connected to your ski/ski binding, but your heel is free, allowing you to travel on skis in a walking motion. Falling into that category is cross-country skiing, telemark skiing, and alpine touring. For simplicity, we are going to be using the terms cross-country skiing and Nordic skiing interchangeably and will be calling alpine touring “AT” skiing.
What’s the difference?
Nordic, or cross-country skis are narrower, lighter, and taller than alpine skis. The boot is shorter and softer than an alpine skiing boot and the poles are taller. Within cross-country skiing you can find different disciplines: classic skiing, skate skiing, and touring. If you ski with classic skis, you are using them in a walking motion, using the scales underneath the foot area to provide traction on the snow, allowing you to walk or ski uphill and then slide downhill without stopping.
Skate skis are similar, except that their traction comes from pushing against the side of the ski, so there are no scales. Think ice skating or roller blading on skis! Cross-country touring set ups are similar to classic skiing except the skis are slightly wider, they may have metal edges, and the boots are slightly stiffer, since you are likely going to be using them on un-groomed snow.
The perks of each of these setups: They are light, great for rolling terrain, and they don’t require skins to travel up hill.

AT skis are very similar to downhill or resort skis (or can be the same!) but require touring bindings. These bindings allow your heel move freely on the uphill but lock in for the downhill. These bindings come as either a frame binding or tech binding. Frame bindings are a little heavier but allow for more versatility for the boot you use, while tech bindings are lighter and require tech boots that are compatible with the pins that lock your boot in place. With frame bindings, you can use most alpine boots (code: resort-skiing boots) and buckle them very loosely for the uphill – just make sure they are adjusted properly to fit! On the other hand, if you are looking to invest in a AT set up, tech touring boots have a walk mode, which gives your more range of motion when skinning up.
When using an AT setup, you also will need skins that are cut to fit the skis you are using in order to travel uphill. Touring skins are sticky and are attached to your skis from tip to tail, and then must be removed in order to ski down. Because of this, people typically carry a ski pack to stash these (along with layers and a helmet for the downhill).
Layering is Key!
For Nordic/cross-country skiing, you’ll want wool or synthetic (moisture wicking) baselayers to start. Softshell pants, insulated leggings, or unlined ski pants are all great options and if you are wearing a type of shell – vents are awesome. On top, a soft-shell jacket, windbreaker, lightweight puffy or a light fleece to wear over your baselayer will keep you warm without overheating. You’re likely to be chilly when you start but will warm up quickly. A warm hat or headband, sunglasses, sunscreen, and thinner gloves or mittens are good options as well. If you are going out for a long ski and aren’t using a ski trailer to haul your stuff (and your kid), a small backpack or fanny pack is a good idea to bring some water and snacks with you.
When using an AT set up, you will want to start with the same baselayers as your resort gear if you have it. Avoid the insulated ski pants or jacket! You’ll likely want to start out with a lighter layer for the uphill but stash a puffy and/or your shell for the downhill. Since you’ll have a pack for stashing your skins, you’ll have some space for layers! A hat and sunglasses are great for the up and helmet and goggles for the down.
I’ve got the gear – Now where do I ski?

Groomed Nordic trails are a great place to start. These are typically found on local golf courses, summer bike trails, or some forest roads. Not only do they give you consistent terrain, but they also are a good sign that you are skiing in a safe area (always do your research though, as every area is different!). Tracks for classic skis are often provided, which helps keep those slippery skis in a straight line. Groomed trails are typically rated similar to ski hill ratings, of green, blue, and black for increasing difficulty so you can find the best trail for your comfort level.
If you are getting out for a walk on some AT gear, walking uphill at a ski resort is a great place to start. Most resorts post their uphill policy on their website. This gives you a steady climb, consistent snow, and a place to practice getting comfortable in your gear. A lot of mountain towns also have forest service roads that are accessible in the winter for a flatter place to practice.
Know Before You Go! The most important piece of skiing outside of groomed trails and resorts is knowing whether you are in safe terrain or not. Even flat winter roads may run under avalanche terrain and be unsafe for travel on certain days. Do not go into the backcountry without the proper education, training, or a trusted ski partner who can make safe and educated decisions.
What about the kids?

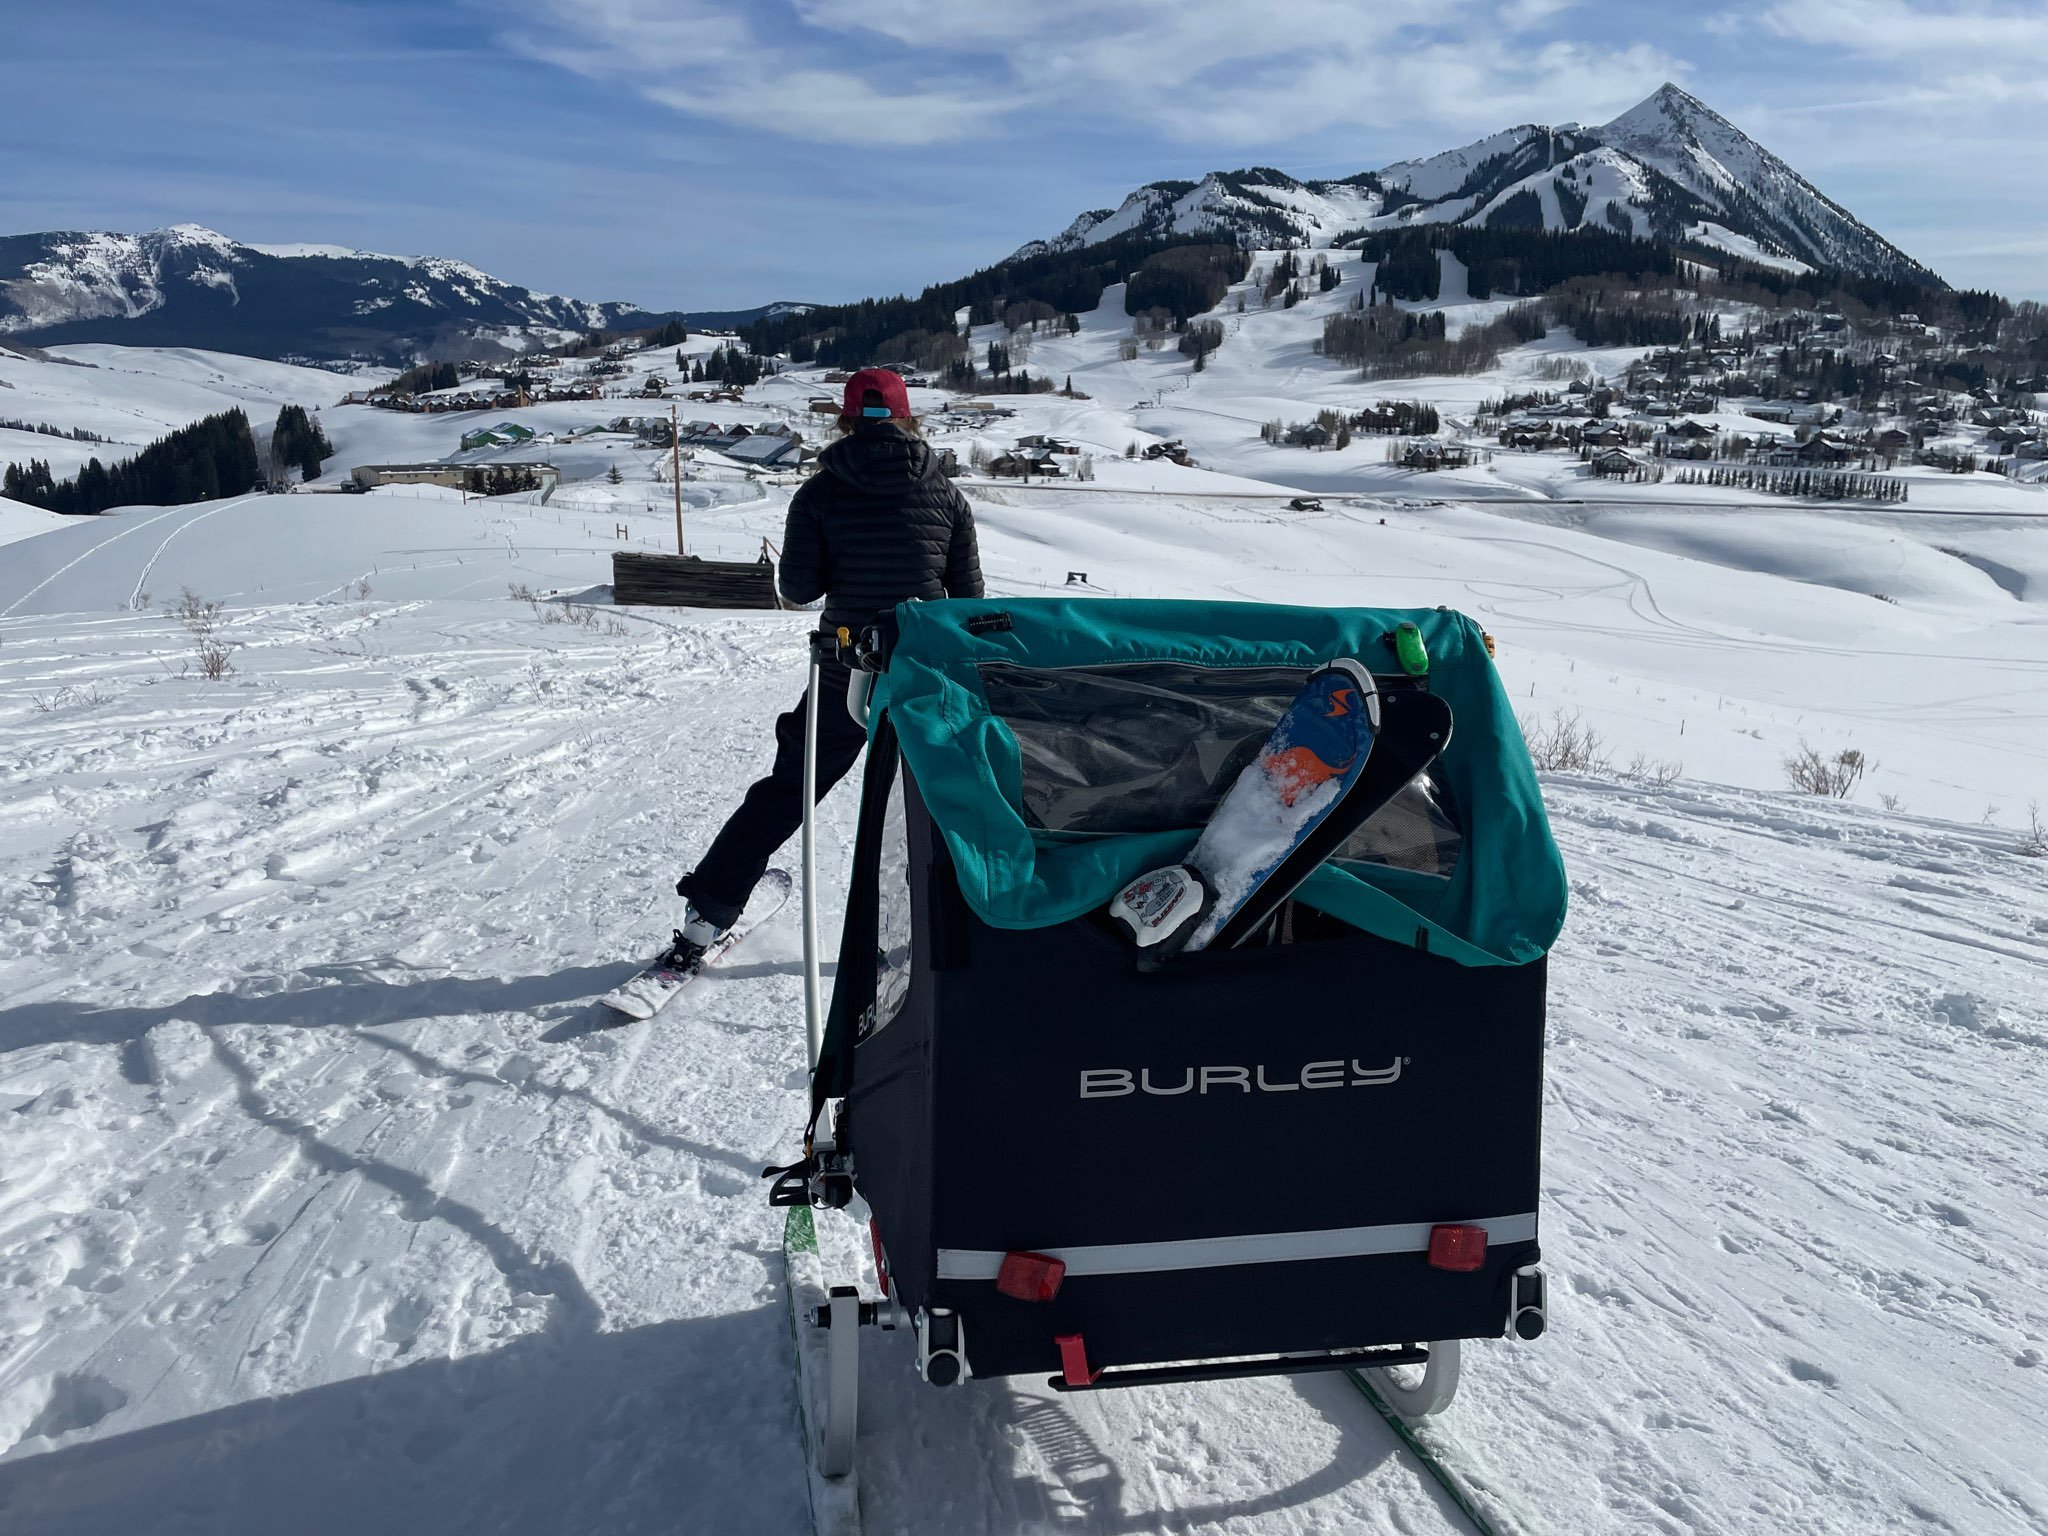
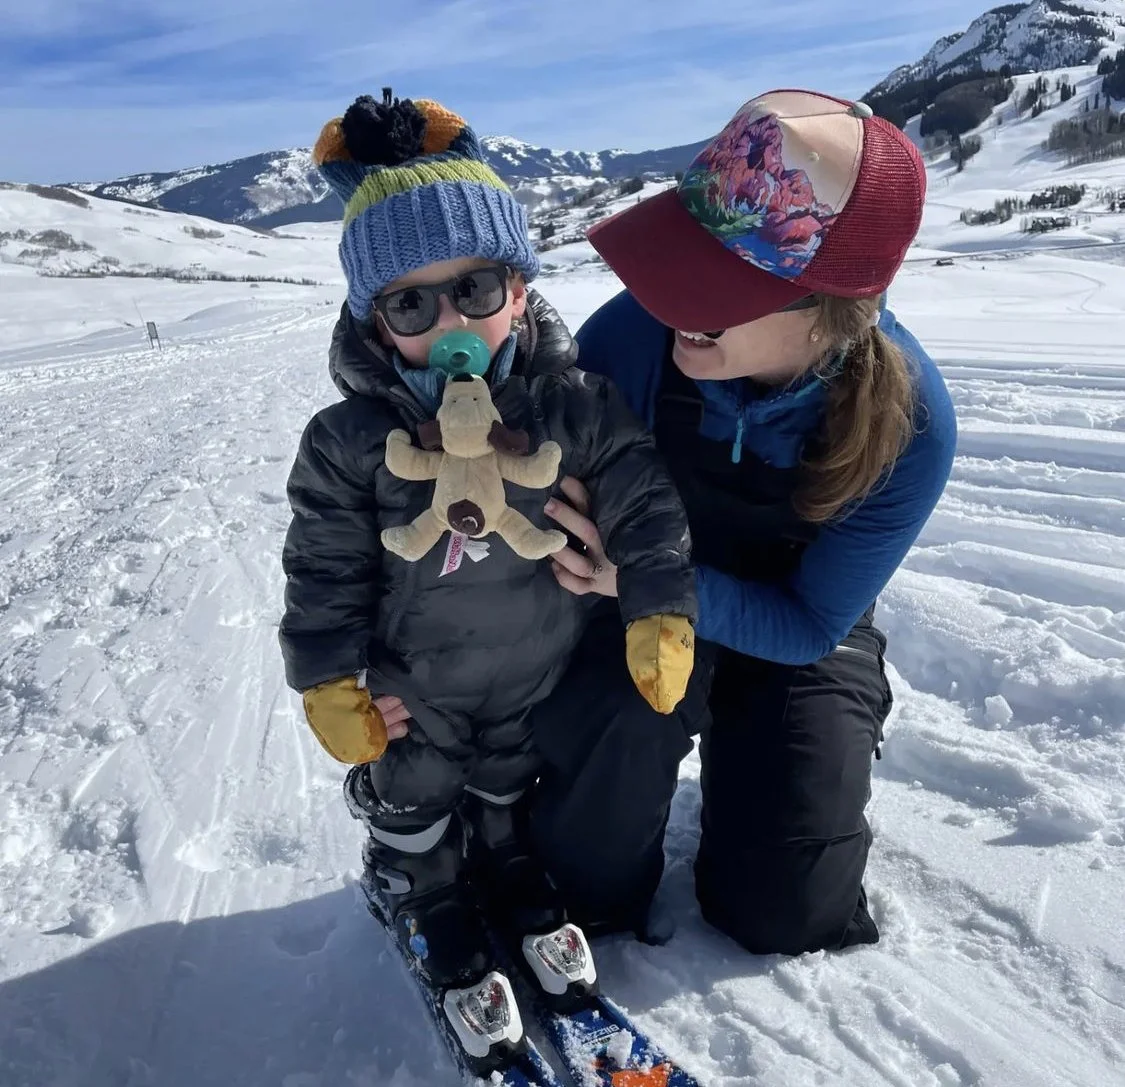
Both cross-country skiing and alpine touring are awesome ways to get out with your kids with either a ski trailer, kid carrier, or their own set of skis. My recommendation is to first, get comfortable on your gear before venturing out with your littles. Not only will that make you feel more confident when heading out, it will be less stressful if you aren’t learning both things at the same time!
For Nordic skiing, I recommend using a ski trailer unless you are very confident on your set up. Nordic skis are a little more slippery than an AT set up, so I would rather have the trailer behind me if I hit a slick spot or lose my balance.
When I’m on my AT gear, I feel comfortable wearing a kid carrier and pulling a trailer because it is a little more stable. I may choose one or the other based on terrain (what do I feel more comfortable skiing down with?) or weather.
Bottom line?
Getting out on skis in any fashion is an awesome way to get some exercise, play, and involve the whole family. Check out your local ski shops for used gear or seasonal rentals as a great way to get started. Be sure to research the trails before going, ski in safe areas, and always bring your snacks!
If you’re interested in learning more about AT skiing and want to participate in family-friendly beginner events, consider joining our Summit membership! Not only do we have a six-week virtual series explaining alllllll of the ins and outs of AT gear, but we also have many in-person meet-ups for members. There is no greater way to learn than doing it alongside like-minded parents!
Written by Amanda Baseler
In addition to acting as WildKind's Community Manager, Amanda is raising her little adventure buddy in the mountains of Colorado. She loves to ski and mountain bike, and works and volunteers with several different organizations to help other folks develop their own love for the outdoors.